


When I need a short product demo or a visual explanation for a README, the slow part is rarely the idea. The slow part is leaving the terminal, opening another tool, and translating a developer task into a video-editing workflow.
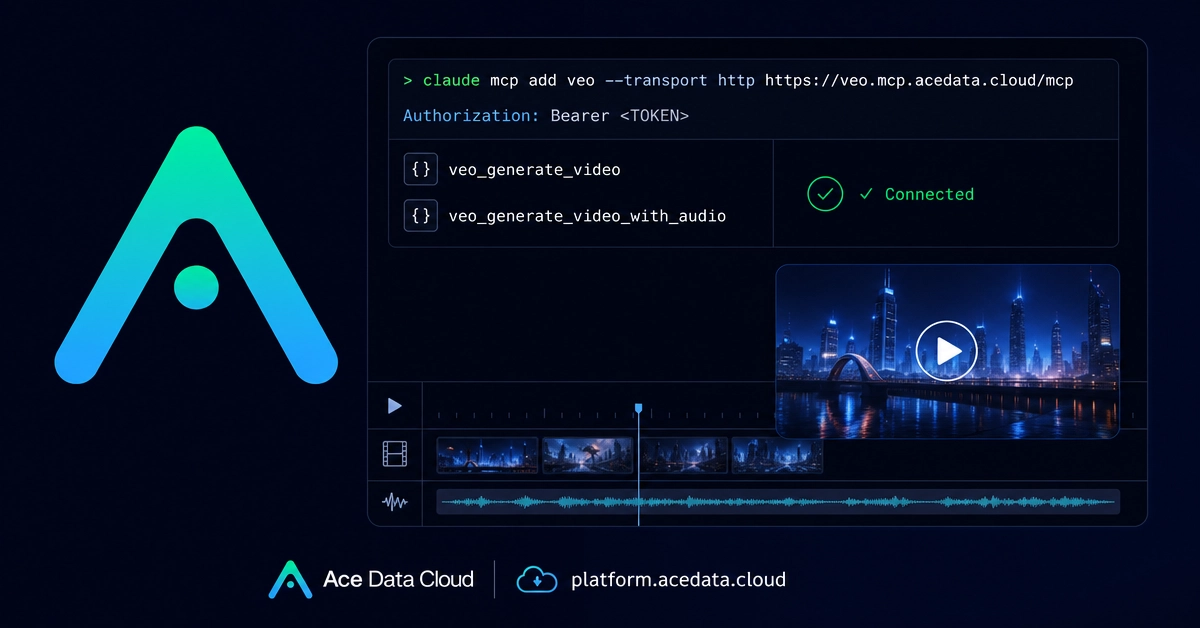
This guide walks through a terminal-first setup: connecting Claude Code to the Veo MCP server so you can ask for short AI-generated videos in plain language while staying inside your project workspace.
The source workflow comes from the Ace Data Cloud documentation for Claude Code + Veo MCP. Veo is described there as an AI video generation model from Google, with support for 1080p output and video generation with accompanying audio. In practice, the interesting part for builders is not just the model. It is the MCP layer: Claude Code can call a video tool directly from a coding session.
What you can do
After the MCP server is connected, Claude Code can use two Veo tools:
-
veo_generate_video: generate video from text or images -
veo_generate_video_with_audio: generate video with audio
That covers a few practical cases that come up in engineering work:
- A small app demo, such as a phone screen showing weather data while the background changes from sunny to rainy
- A README animation, such as data moving from an input box to a result panel through three processing nodes
- A terminal-style video with audio, such as code being typed on a black background, keyboard clicks, a successful compile, and a green check mark
The point is not to replace careful design work. It is to make lightweight visual assets easier to prototype when you already know the scene you want.
How it works
The MCP server URL used by this workflow is:
https://veo.mcp.acedata.cloud/mcp
Enter fullscreen mode Exit fullscreen mode
Claude Code connects to it over HTTP, and authentication is passed with an Authorization header:
claude mcp add veo --transport http https://veo.mcp.acedata.cloud/mcp \
  -H "Authorization: Bearer YOUR_TOKEN"
Enter fullscreen mode Exit fullscreen mode
A small but important detail: the -H flag must be uppercase. In the Claude Code command, lowercase -h means help, not an HTTP header. If the connection looks like it is not receiving your token, check this first.
You can get the token from the Ace Data Cloud platform after logging in. The same token is used for the MCP server connection, so Claude Code can authenticate when it calls the Veo tools.
Choose the right configuration scope
Claude Code lets you decide where the MCP configuration should apply. If you omit -s, the default scope is local, which only applies to the project directory where the command runs.
The documented scopes are:
| Scope | Command parameter | Config file | Applies to |
|---|---|---|---|
local |
no -s or -s local
|
~/.claude.json |
only the project directory where the command runs |
user |
-s user |
~/.claude.json |
all projects for the current user |
project |
-s project |
.mcp.json in the project root |
the current project |
For a personal experiment, local scope is usually enough. For a tool you expect to use across many repositories, -s user is convenient. For a team project, -s project can make sense because the config lives in the project root.
One warning: do not commit real tokens to a public repository. If you use project scope and share the config through git, use an environment variable placeholder such as ${ENV_VAR} instead of a real bearer token.
Verify the connection
After adding the MCP server, run:
claude mcp list
Enter fullscreen mode Exit fullscreen mode
You are looking for the veo server to show a connected status:
veo ✓ Connected
Enter fullscreen mode Exit fullscreen mode
If it does not connect, I would check three things in this order:
- Is the server URL exactly
https://veo.mcp.acedata.cloud/mcp? - Did you use uppercase
-Hfor the authorization header? - Is the token present after
Bearerand not accidentally wrapped or truncated by your shell?
Try a few builder-focused prompts
Once the server is connected, you do not need to write a separate API request by hand. You can ask Claude Code to use the Veo tool from the current session.
For an app demo:
I am developing a weather app. Generate a demo video: the phone screen shows weather information, and the background transitions from sunny to rainy.
Enter fullscreen mode Exit fullscreen mode
For documentation:
Generate an animation for the README: data flows from the input box on the left to the result panel on the right, passing through three processing nodes in the middle.
Enter fullscreen mode Exit fullscreen mode
For a terminal video with audio, explicitly ask for the audio-capable tool:
Use veo_generate_video_with_audio to generate a short video with audio: code is typed automatically on a black background, keyboard clicking sounds play, compilation succeeds, and a green ✓ appears.
Enter fullscreen mode Exit fullscreen mode
These prompts are intentionally concrete. In my experience, video prompts work better when they describe the subject, motion, environment, and expected ending state instead of only saying “make a cool demo.”
Where this fits in a developer workflow
I would use this workflow for first-pass assets: demo clips for a landing page draft, quick README visuals, internal prototypes, or short explainers for a feature branch. The value is that the generation step sits next to the code and docs you are already editing.
If you want the exact setup reference, the original Ace Data Cloud doc is here: https://platform.acedata.cloud/documents/claude-code-mcp-veo
0 Comments
Log in to join the conversation.No comments yet. Be the first to share your thoughts.