
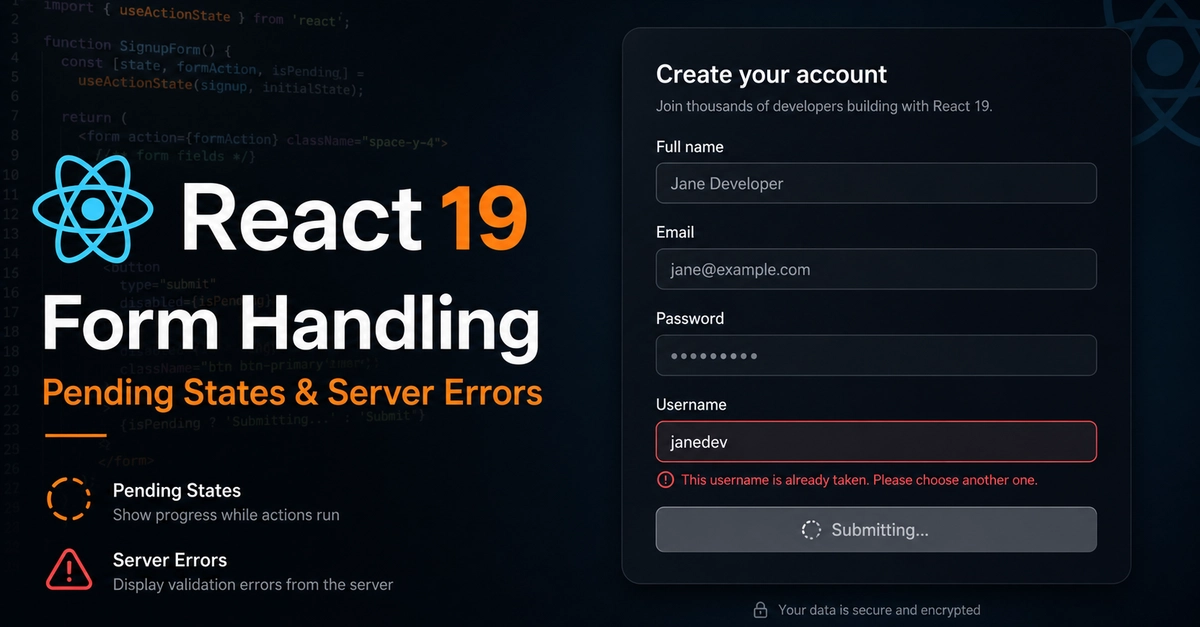
React 19では、サーバーアクションフォーム向けに2つのフックが導入されました:useFormStateとuseFormStatusです。これらを組み合わせることで、フォーム送信時の主なUXの問題 — ローディング状態の表示、サーバーエラーの表示、サーバーレスポンスに基づくUIの更新 — を、フォーム自体に対するクライアントサイドの状態管理を必要とせずに解決できます。
以下では、Next.js App Routerにおける両フックの使用方法と、最もクリーンな実装パターンを紹介します。AI presentation imagesの生成フォームで使用されているアプローチも含みます。
これらのフックが解決する問題
React 19以前では、Server Actionフォームの処理には以下が必要でした:
- フォーム送信用のServer Action
- pending状態用のクライアントサイド状態(
useState) - エラー表示用のクライアントサイド状態
-
useTransitionまたはisPendingによるローディング状態 新しいフックにより、これらが大幅に削減されます。
useFormStatus — フォーム内のPending状態
useFormStatusは、フォーム内の任意のコンポーネントにフォームの送信ステータスへのアクセスを提供します。重要な動作:propsではなく、最も近い親の<form>から読み取ります。
// components/SubmitButton.jsx
'use client';
import { useFormStatus } from 'react-dom';

export function SubmitButton({ children }) {
  const { pending } = useFormStatus();

  return (
    <button
      type="submit"
      disabled={pending}
      className={`px-6 py-2 rounded-full font-medium transition-all
        ${pending
          ? 'bg-neutral-400 cursor-not-allowed'
          : 'bg-orange-500 hover:bg-orange-600'
        }`}
    >
      {pending ? 'Submitting...' : children}
    </button>
  );
}
Enter fullscreen mode Exit fullscreen mode
このSubmitButtonコンポーネントは、親フォームが送信中になると自動的にpending状態を表示します — prop drillingや手動の状態管理は必要ありません。
// Any form that uses this button
export function ContactForm() {
  return (
    <form action={submitContactForm}>
      <input name="email" type="email" required />
      <textarea name="message" required />
      <SubmitButton>Send Message</SubmitButton>
      {/* SubmitButton knows the form is pending automatically */}
    </form>
  );
}
Enter fullscreen mode Exit fullscreen mode
useFormStatusは、data(送信中のFormData)、method、actionも公開しており、より高度なパターンに役立ちます。
useFormState — クライアントでのサーバーレスポンス
useFormStateはServer Actionをラップし、その戻り値をクライアントコンポーネントで利用できるようにします。これにより、サーバーサイドのバリデーションエラーや成功状態を表示できます。
// app/actions/contact.ts
'use server';

type FormState = {
  success: boolean;
  error?: string;
  fieldErrors?: Record<string, string>;
};

export async function submitContactForm(
  prevState: FormState,
  formData: FormData
): Promise<FormState> {
  const email = formData.get('email') as string;
  const message = formData.get('message') as string;

  if (!email || !email.includes('@')) {
    return {
      success: false,
      fieldErrors: { email: 'Please enter a valid email address' }
    };
  }

  if (!message || message.length < 20) {
    return {
      success: false,
      fieldErrors: { message: 'Message must be at least 20 characters' }
    };
  }

  try {
    await sendEmail({ email, message });
    return { success: true };
  } catch {
    return { success: false, error: 'Failed to send. Please try again.' };
  }
}
Enter fullscreen mode Exit fullscreen mode
注意すべきシグネチャ:Server Actionの最初の引数としてprevStateを受け取るようになりました — useFormStateが各送信時に前の状態を渡します。
// components/ContactForm.jsx
'use client';
import { useFormState } from 'react-dom';
import { submitContactForm } from '@/app/actions/contact';
import { SubmitButton } from './SubmitButton';

const initialState = { success: false };

export function ContactForm() {
  const [state, formAction] = useFormState(submitContactForm, initialState);

  if (state.success) {
    return (
      <div className="p-6 bg-green-50 rounded-xl text-green-700">
        Message sent successfully. We'll be in touch soon.
      </div>
    );
  }

  return (
    <form action={formAction}>
      <div className="flex flex-col gap-4">
        <div>
          <input
            name="email"
            type="email"
            placeholder="Your email"
            className="w-full p-3 border rounded-lg"
            aria-describedby="email-error"
          />
          {state.fieldErrors?.email && (
            <p id="email-error" className="text-sm text-red-500 mt-1">
              {state.fieldErrors.email}
            </p>
          )}
        </div>

        <div>
          <textarea
            name="message"
            placeholder="Your message"
            className="w-full p-3 border rounded-lg h-32"
            aria-describedby="message-error"
          />
          {state.fieldErrors?.message && (
            <p id="message-error" className="text-sm text-red-500 mt-1">
              {state.fieldErrors.message}
            </p>
          )}
        </div>

        {state.error && (
          <p className="text-sm text-red-500">{state.error}</p>
        )}

        <SubmitButton>Send Message</SubmitButton>
      </div>
    </form>
  );
}
Enter fullscreen mode Exit fullscreen mode
このフォームは、サーバーからのフィールドレベルエラーの表示、送信後の成功状態の表示、自動的にpending状態になる送信ボタン — すべてを手動のuseState(pendingやエラー状態用)なしで実現します。
両方のフックを組み合わせる
このパターンは、両方のフックを一緒に使用すると最も効果的です:
'use client';
import { useFormState } from 'react-dom';
import { useFormStatus } from 'react-dom';

// useFormStatus: used inside the form, shows pending state
function SubmitButton() {
  const { pending } = useFormStatus();
  return (
    <button type="submit" disabled={pending}>
      {pending ? 'Saving...' : 'Save'}
    </button>
  );
}

// useFormState: wraps the action, provides state to the component
function EditProfileForm({ user }) {
  const [state, action] = useFormState(updateProfile, { success: false });

  return (
    <form action={action}>
      <input name="name" defaultValue={user.name} />
      {state.fieldErrors?.name && <p>{state.fieldErrors.name}</p>}

      <input name="bio" defaultValue={user.bio} />
      {state.fieldErrors?.bio && <p>{state.fieldErrors.bio}</p>}

      {state.success && <p>Profile updated!</p>}
      {state.error && <p>{state.error}</p>}

      <SubmitButton />
    </form>
  );
}
Enter fullscreen mode Exit fullscreen mode
プログレッシブエンハンスメント
このパターンの大きな利点の1つ:この方法で構築されたフォームは、JavaScriptなしでも動作します。Server Actionが送信を処理し、サーバーがレスポンスを返し、フォームが更新された状態を表示します — すべてクライアントサイドのJavaScriptなしで実現されます。
JavaScriptが有効な場合は高速な体験(ページリロードなし、pending状態のフィードバック)が得られます。JavaScriptが無効な場合でも動作します。このプログレッシブエンハンスメントは、Server Actionを指すaction属性を持つネイティブの<form>要素を使用すると自動的に発生します。
このパターンを使用しない場合
複雑な多段階フォーム。 各ステップが前のステップのデータに依存するフォームは、Server Actionsではなくクライアントサイドの状態管理(ZustandやReact Query)で処理する方が適しています。
楽観的更新。 サーバーが確認する前に即座に結果を表示したい場合は、useFormStateよりもuseOptimisticとuseTransitionの組み合わせの方が適切です。
リアルタイムバリデーション。 useFormStateは送信時にのみトリガーされます。ユーザーの入力時にフィールドレベルのバリデーションを行うには、クライアントサイドのバリデーションロジックが依然として必要です。
連絡先フォーム、ログイン、設定、プロフィールなど、ほとんどのシンプルなフォームでは、useFormState + useFormStatusがReact 19 App Routerで利用可能な最もクリーンなパターンです。
アクセシビリティの考慮事項
上記のパターンでは、エラーメッセージをフィールドに接続するためにaria-describedbyを含めています。これはサーバーから返されるバリデーションエラーを使用する際に重要です — スクリーンリーダーは、どのフィールドがエラーを参照しているかを知る必要があります。
<div>
  <label htmlFor="email">Email</label>
  <input
    id="email"
    name="email"
    type="email"
    aria-describedby={state.fieldErrors?.email ? "email-error" : undefined}
    aria-invalid={state.fieldErrors?.email ? "true" : undefined}
  />
  {state.fieldErrors?.email && (
    <p id="email-error" role="alert">
      {state.fieldErrors.email}
    </p>
  )}
</div>
Enter fullscreen mode Exit fullscreen mode
エラーの段落に付けたrole="alert"により、エラーが表示された際にスクリーンリーダーに通知されます — フォーカス管理を必要としません。
テスト
useFormStateコンポーネントのテストでは、フォームをact()呼び出しでラップし、送信をシミュレートする必要があります:
import { render, screen, fireEvent, waitFor } from '@testing-library/react';
import { ContactForm } from './ContactForm';

// Mock the server action
jest.mock('@/app/actions/contact', () => ({
  submitContactForm: jest.fn().mockResolvedValue({
    success: true
  })
}));

test('shows success state after submission', async () => {
  render(<ContactForm />);

  fireEvent.change(screen.getByPlaceholderText('Your email'), {
    target: { value: '[email protected]' }
  });

  fireEvent.change(screen.getByPlaceholderText('Your message'), {
    target: { value: 'This is a test message that is long enough' }
  });

  fireEvent.click(screen.getByRole('button', { name: 'Send Message' }));

  await waitFor(() => {
    expect(screen.getByText(/message sent successfully/i)).toBeInTheDocument();
  });
});
Enter fullscreen mode Exit fullscreen mode
モックはServer Actionを解決されたPromiseに置き換えます。これはuseFormStateが期待するものです。
まとめ
useFormStatusは、フォーム内の任意のコンポーネントにフォームのpending状態への即時アクセスを提供します — prop drillingやcontextは不要です。
useFormStateはServer Actionをラップし、クライアントコンポーネントに行為の戻り値へのアクセスを提供します — サーバーサイドのバリデーションエラーや成功状態に最適です。
これらを組み合わせることで、Next.js App Routerにおけるほとんどのフォーム処理のニーズを、最小限のクライアントサイドコード、組み込みのプログレッシブエンハンスメント、クライアントとサーバーの関心事のクリーンな分離でカバーできます。
0 Comments
Log in to join the conversation.No comments yet. Be the first to share your thoughts.