
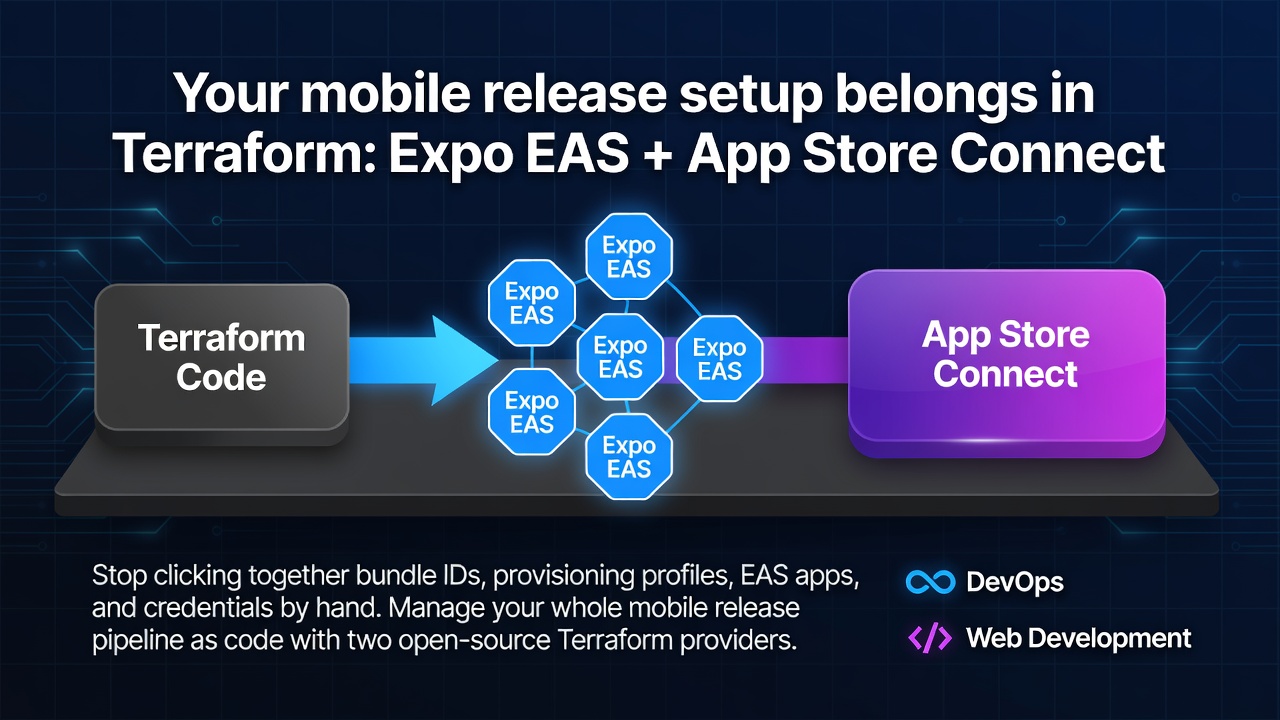

如果你要將 React Native / Expo 應用程式上架 App Store,就會遇到這套流程:開啟 Apple Developer 入口網站、建立 bundle identifier、勾選功能選項、產生 provisioning profile、選擇正確的憑證。接著再切換到 Expo 控制台,建立 EAS App、設定憑證、逐一畫面輸入環境變數。
這套流程確實可行,但當你需要為第二支應用程式、第二個環境,或是讓團隊成員了解某項功能為何啟用時,就會發現所有操作都未被記錄下來。設定會逐漸漂移,而一般的行動開發工具也幫不上忙:fastlane 與 EAS CLI 雖然強大,但它們是命令式——用腳本「執行」動作——而非以宣告式描述發佈設定「應該是什麼」。
這正是這兩款 provider 所填補的空白:
-
elevenode/appstore— App Store Connect:bundle identifier、provisioning profile、憑證。 -
elevenode/expo— Expo Application Services (EAS):App、憑證、環境變數、更新頻道。
兩者皆為開源(Apache 2.0)並已發布於 Terraform Registry。讓我們一起用它們把行動應用程式的發佈設定描述成程式碼。
你需要什麼
- Terraform(或 OpenTofu)
- 一組 App Store Connect API 金鑰(Users and Access → Integrations → App Store Connect API):金鑰本身、金鑰 ID,以及發行者 ID
- 一組 Expo 存取權杖(expo.dev → account settings → Access Tokens)以及你的 Expo 帳戶名稱
請將憑證匯出為環境變數,避免敏感資訊出現在設定檔中:
export APPSTORE_KEY="$(cat AuthKey_XXXX.p8)"
export APPSTORE_KEY_ID="XXXXXXXXXX"
export APPSTORE_KEY_ISSUER_ID="xxxxxxxx-xxxx-xxxx-xxxx-xxxxxxxxxxxx"

export EXPO_TOKEN="your-expo-access-token"
export EXPO_ACCOUNT_NAME="your-account-name"
Enter fullscreen mode Exit fullscreen mode
串接兩個 provider
terraform {
  required_providers {
    appstore = {
      source = "elevenode/appstore"
    }
    expo = {
      source = "elevenode/expo"
    }
  }
}

# 從環境變數讀取 APPSTORE_KEY / APPSTORE_KEY_ID / APPSTORE_KEY_ISSUER_ID
provider "appstore" {}

# 從環境變數讀取 EXPO_TOKEN / EXPO_ACCOUNT_NAME
provider "expo" {}
Enter fullscreen mode Exit fullscreen mode
terraform init 會從 Registry 拉取兩個 provider。
第一部分 — Apple 端
首先建立 bundle identifier 以及所需的權限。這取代了 Developer portal 中的勾選畫面:
resource "appstore_bundle_identifier" "app" {
  name       = "Acme"
  identifier = "com.acme.app"
  platform   = "IOS"

  capabilities = [
    "PUSH_NOTIFICATIONS",
    "APPLE_ID_AUTH",
    "IN_APP_PURCHASE",
  ]
}
Enter fullscreen mode Exit fullscreen mode
接著建立 provisioning profile,將 bundle ID 與簽署憑證綁定。憑證 ID 來自你的 Apple 帳戶(可透過變數傳入,讓設定檔可攜帶):
variable "distribution_certificate_ids" {
  type        = list(string)
  description = "要嵌入 profile 的 App Store Connect 憑證 ID。"
}

resource "appstore_provisioning_profile" "app_store" {
  name                 = "Acme App Store"
  type                 = "IOS_APP_STORE"
  bundle_identifier_id = appstore_bundle_identifier.app.id
  certificate_ids      = var.distribution_certificate_ids
}
Enter fullscreen mode Exit fullscreen mode
注意到 bundle_identifier_id 的參照——Terraform 現在知道 profile 依賴於 bundle ID,並會以正確順序建立它們。這種依賴關係在手動操作時是看不到的。
第二部分 — Expo 端
建立 EAS App,然後以宣告方式定義環境變數,而非在儀表板輸入:
resource "expo_app" "app" {
  name = "Acme"
  slug = "acme"
}

resource "expo_app_variable" "api_url" {
  app_id       = expo_app.app.id
  name         = "API_URL"
  value        = "https://api.acme.com"
  visibility   = "PUBLIC"
  environments = ["PRODUCTION"]
}
Enter fullscreen mode Exit fullscreen mode
你也可以從這裡驅動 EAS Update。定義 branch 與 channel,將更新對應到 branch:
resource "expo_update_branch" "production" {
  app_id = expo_app.app.id
  name   = "production"
}

resource "expo_update_channel" "production" {
  app_id = expo_app.app.id
  name   = "production"

  branch_mapping = jsonencode({
    version = 0
    data = [{
      branchId           = expo_update_branch.production.id
      branchMappingLogic = "true"
    }]
  })
}
Enter fullscreen mode Exit fullscreen mode
套用設定
terraform apply
Enter fullscreen mode Exit fullscreen mode
Terraform 會顯示完整的執行計劃——包含 bundle ID、其權限、profile、EAS App、環境變數與更新頻道——在任何資源建立前供你確認。核准後,你整個行動版發佈設定就會以單一來源存在。
現在來看看有趣的部分:對全新的 Apple Team 與 Expo 帳戶再次執行,就能得到完全相同的設定。在設定檔中變更某項權限、開啟 PR,你的同事就能在變更送出至 Apple 前「檢視差異」。從設定檔刪除某項資源,terraform plan 會精準告訴你將會移除什麼。這就是「基礎設施即程式碼」的核心價值,終於應用到以往只能在網頁控制台操作的行動開發領域。
試用
兩款 provider 皆為開源,歡迎提交 issue 與 pull request:
- App Store Connect:github.com/elevenode/terraform-provider-appstore(registry)
- Expo EAS:github.com/elevenode/terraform-provider-expo(registry)
如果它們幫你省下了不少點擊,請給個 star,讓更多人發現它們。如果你希望有特定資源存在,歡迎開 issue——這正是塑造後續開發方向的最佳回饋。
0 Comments
Log in to join the conversation.No comments yet. Be the first to share your thoughts.