
Most “WordPress to Next.js” tutorials show you how to fetch posts from the WP REST API and render them in the App Router. That’s the easy 20%. The 80% that actually decides whether your organic traffic survives is everything around the content: your URLs, your redirects, your metadata, your sitemap, and your images. Get those wrong and you’ll watch impressions fall off a cliff two weeks after launch, right when everyone assumes the migration “went fine.”
This guide is the checklist I wish every team ran before flipping DNS. It’s framework-accurate for the Next.js App Router, and it works whether your new backend is headless WordPress, a headless CMS, or flat files.
The one rule that saves rankings
Every decision in a migration comes back to a single principle:
Nothing about how Google already sees your pages should change, except the parts you deliberately improve.
Google ranks specific URLs based on their content, their metadata, and the links pointing to them. A migration is dangerous precisely because it’s tempting to change all three at once: new URLs, a “cleaner” content structure, redesigned templates. Do that and you’ve thrown away the signals every ranking is built on. The safe path is boring: same URLs, same content, same meta, just a faster, modern frontend underneath.
Step 1: Inventory everything before you touch anything
You cannot preserve what you haven’t captured. Before writing a line of Next.js, you need a complete, structured snapshot of the live site: every published URL, its rendered content, its SEO metadata, its images, and its internal links. This inventory becomes the source of truth for your redirect map, your generateMetadata, and your sitemap.
This is the step most guides wave away with “export your content from WordPress.” In reality it’s where migrations break, because the default WordPress export (WXR) gives you raw post content, not the rendered HTML your page builder actually outputs, and it drops most of the SEO fields you need. If your site runs Elementor, WPBakery, Divi, Bricks, or Oxygen, a raw export is close to useless: the shortcodes never render.
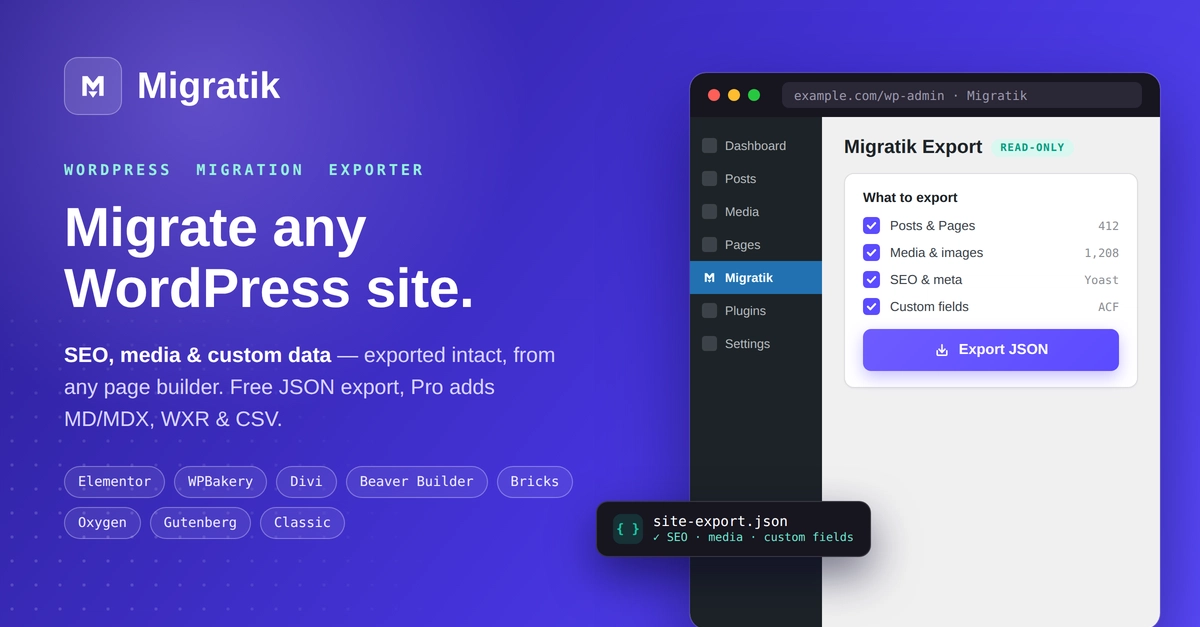
This is exactly what Migratik was built for (Migratik packs an entire WordPress site into one clean JSON file) the fully rendered
content_html(builder shortcodes executed), the theme-rendereddocument_title, thepermalinkof every item, SEO meta from Yoast / Rank Math / AIOSEO, featured & in-content images, internal links, taxonomies, and custom fields. It’s builder-agnostic and read-only, so it changes nothing on your live site. That single file is the inventory this entire guide runs on. Install Migratik free on WordPress.org
However you capture it, make sure your inventory contains, for every URL:
- The permalink, the live, canonical URL. This drives your redirect map.
- The rendered HTML, what visitors actually see, builders executed.
-
The document title & meta description, the exact
<title>and description Google indexed. - Canonical, Open Graph, and structured data: anything that shaped the search snippet.
- Every image URL, featured and in-content, with alt text.
- Internal links, so you can verify none 404 after launch.
Step 2: Keep your URL structure
The single highest-leverage decision you’ll make: keep your existing permalink structure. If a post lives at /blog/corneal-cross-linking/ today, it should live at the same path on Next.js. Same slug, same trailing-slash convention, same casing. When URLs don’t change, the vast majority of your ranking signal transfers for free.
In the App Router, mirror your WordPress paths with the file-system router and dynamic segments:
// app/blog/[slug]/page.tsx  →  /blog/corneal-cross-linking
export async function generateStaticParams() {
  const items = await getAllContent();  // from your inventory JSON
  return items.map((it) => ({ slug: it.slug }));
}
Enter fullscreen mode Exit fullscreen mode
One detail that silently causes duplicate-content problems: trailing slashes. WordPress serves /blog/post/ (with a slash); Next.js defaults to no slash. Pick one and enforce it site-wide with trailingSlash in your config, and make sure your redirects and canonical tags agree with the choice.
// next.config.js
module.exports = { trailingSlash: true };  // match WordPress's default
Enter fullscreen mode Exit fullscreen mode
Step 3: 301 anything that moves
Some URLs will change, maybe you’re dropping /category/ bases or consolidating thin pages. Every one of those must return a 301 (permanent) redirect to its new home. A 301 passes the old URL’s ranking authority to the new one; a 302 (temporary) or a soft 404 throws it away.
Because your inventory already holds every old permalink, generating the redirect map is mechanical. For a handful of redirects, put them in next.config.js:
// next.config.js
module.exports = {
  async redirects() {
    return [
      {
        source: '/category/:slug',
        destination: '/topics/:slug',
        permanent: true,   // emits a 301
      },
      { source: '/old-about-us', destination: '/about', permanent: true },
    ];
  },
};
Enter fullscreen mode Exit fullscreen mode
For hundreds or thousands of one-off redirects, don’t hand-write them, generate the list from your inventory and match them in middleware.ts against a lookup map, or use your host’s redirect layer (Vercel, Netlify, Cloudflare). The key is that permanent: true emits an HTTP 301.
Watch out, Never chain redirects (old → interim → final) and never redirect everything to the homepage. A redirect to an irrelevant page is treated by Google as a soft 404 and loses the ranking entirely. Map each old URL to its true equivalent.
Step 4: Carry over your metadata, exactly
Your <title> and meta description are what earn the click in search results. Port them verbatim from the inventory: don’t “rewrite while you’re at it.” The Next.js App Router exposes the Metadata API for precisely this, and generateMetadata lets you populate it per-page from your captured data:
// app/blog/[slug]/page.tsx
import type { Metadata } from 'next';

export async function generateMetadata(
  { params }: { params: { slug: string } }
): Promise<Metadata> {
  const item = await getItem(params.slug);
  return {
    title: item.document_title,      // exact indexed <title>
    description: item.seo.description,
    alternates: { canonical: item.permalink },
    openGraph: {
      title: item.document_title,
      description: item.seo.description,
      images: [item.featured_image?.url].filter(Boolean),
    },
  };
}
Enter fullscreen mode Exit fullscreen mode
Two things people forget here: set an explicit canonical for every page (with your trailing-slash convention), and carry over your structured data (JSON-LD). If your posts had Article or FAQ schema on WordPress, render the same JSON-LD in Next.js, losing it can shrink your rich results.
Step 5: Rebuild your sitemap and robots
A fresh site needs a fresh XML sitemap listing every live URL, so Search Console can re-discover your pages fast. The App Router generates one from a single file, again, straight from your inventory:
// app/sitemap.ts
import type { MetadataRoute } from 'next';

export default async function sitemap(): Promise<MetadataRoute.Sitemap> {
  const items = await getAllContent();
  return items.map((it) => ({
    url: it.permalink,
    lastModified: it.modified,
  }));
}
Enter fullscreen mode Exit fullscreen mode
// app/robots.ts
import type { MetadataRoute } from 'next';

export default function robots(): MetadataRoute.Robots {
  return {
    rules: { userAgent: '*', allow: '/' },
    sitemap: 'https://yoursite.com/sitemap.xml',
  };
}
Enter fullscreen mode Exit fullscreen mode
The classic launch-day disaster, A staging site almost always ships with
Disallow: /or a site-widenoindex. If that config reaches production, Google will deindex your entire site. Before launch, confirm production returnsindex,followand anallow: /robots rule.
Step 6: Don’t lose your images
Images carry ranking weight through image search, alt text, and Core Web Vitals. Two traps: broken image URLs after you move hosts, and dropped alt text. Your inventory should already include every image URL and its alt attribute, bundle the actual files, rewrite the URLs to their new home, and keep the alt text attached to each image.
If you’re moving off the WordPress uploads directory entirely, Migratik Pro’s one-click media bundle does this in a single step: it downloads every referenced image, mirrors the folder structure, and rewrites the URLs in your content to the bundled copies, so nothing 404s when the old /wp-content/uploads/ path disappears. Then serve them through next/image for automatic optimization.
Step 7: Launch, then verify like your traffic depends on it
It does. Ship, then work this checklist in the first 48 hours:
- Submit the new sitemap in Google Search Console and request indexing for your top pages.
- Spot-check 301s: hit a sample of old URLs and confirm each lands on the right page with a single 301 hop.
- Crawl the new site (Screaming Frog or similar) and diff the URL list against your inventory, anything missing is a gap.
- Verify metadata on live pages: titles, descriptions, canonicals, and JSON-LD all present.
- Watch Coverage & 404s in Search Console daily for two weeks. A spike in “Not found” means a redirect you missed.
- Keep the old site reachable for a short window if you can, so nothing 404s while DNS and caches settle.
The mistakes that actually tank rankings
Almost every post-migration traffic drop traces back to one of these:
- Changing URLs without 301s, the number-one killer. Every orphaned URL is a ranking deleted.
- Incomplete content migration, pages that render empty because a builder’s shortcodes never executed in the export.
- Dropped metadata, new templates that forget titles, descriptions, or canonicals.
-
Leftover
noindex/Disallowfrom staging reaching production. - Broken images when the old uploads path disappears.
- Redirecting everything to the homepage instead of true equivalents.
Notice the pattern: every one is a preservation failure, and every one is preventable with a complete inventory captured before you start. Get Step 1 right and the rest is mechanical.
Frequently asked questions
Will migrating from WordPress to Next.js hurt my SEO?
Not if you preserve what Google already trusts. Keep your URLs identical, 301-redirect anything that changes, carry over your titles, descriptions and canonicals, and rebuild your sitemap. Rankings drop when those signals are lost, not because the frontend changed.
How do I keep my WordPress URLs in Next.js?
Mirror your permalink structure with the App Router’s dynamic segments and generate one page per slug with generateStaticParams(), using your existing slugs. Match WordPress’s trailing-slash convention with trailingSlash in next.config.js.
How do I set up 301 redirects in Next.js?
Use the redirects() function in next.config.js with permanent: true for a handful of rules, or match a generated redirect map in middleware.ts (or your host’s redirect layer) for large lists.
How do I export my WordPress content for Next.js?
Export it as clean JSON or Markdown with the rendered content and SEO metadata intact, a tool like Migratik packs your whole site into one file that powers your routes, metadata and redirects.
Start with a clean inventory (Migratik exports your whole WordPress site) rendered content, SEO metadata, permalinks, images, and links, into one file that powers your redirects, metadata, and sitemap. Free to install, read-only, and safe on a live site. Install Migratik free on WordPress.org
0 Comments
Log in to join the conversation.No comments yet. Be the first to share your thoughts.