
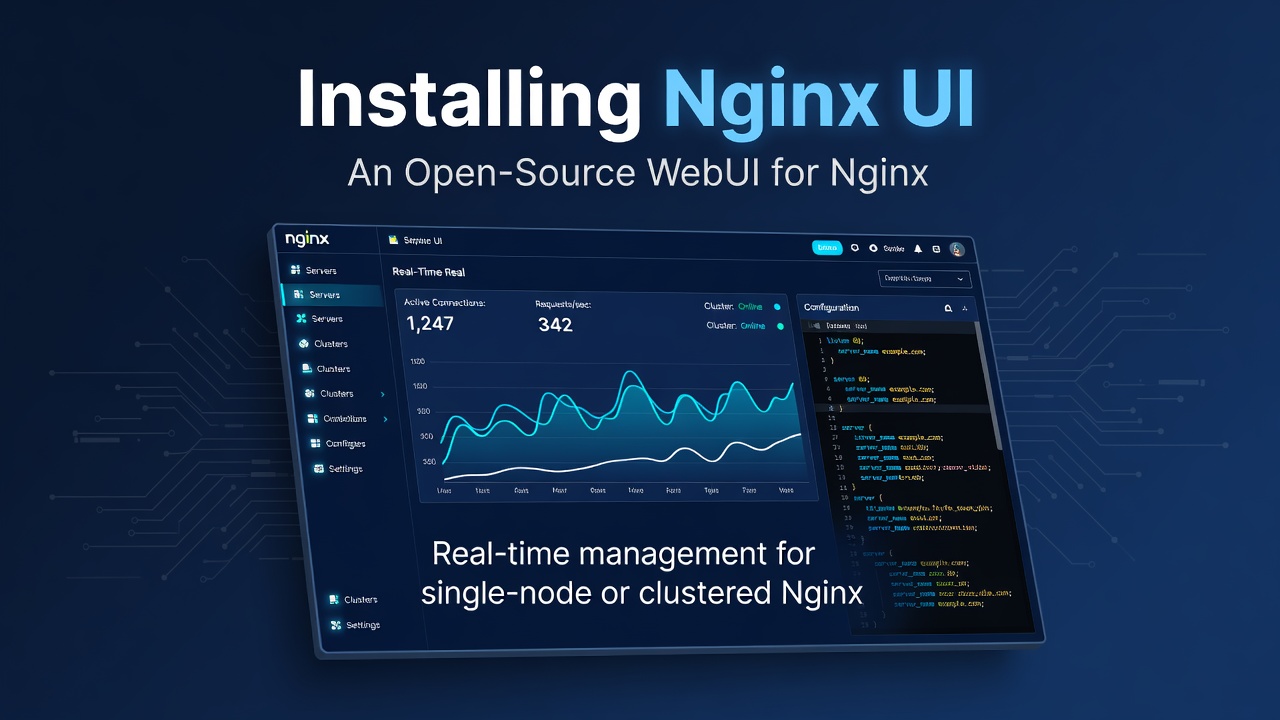
Nginx UI is an open-source web GUI for managing Nginx, single-node or clustered, with real-time stats, automatic Let's Encrypt TLS, performance monitoring, and even LLM-assisted config editing. This guide installs it on Ubuntu 24.04, puts it behind a reverse proxy with TLS, sets up ACME certificate management, and creates a virtual host through the dashboard.
Prerequisites: an Ubuntu 24.04 server, non-root sudo user, a domain A record (e.g.
nginx-ui.example.com), Docker installed if you choose that install path.
$ sudo apt update
$ sudo apt install nginx -y
Enter fullscreen mode Exit fullscreen mode
Pick one of the two install methods below.
Option A: Install via Script
Runs Nginx UI as a system service, managing the host's Nginx directly.
$ curl -O https://cloud.nginxui.com/install.sh
$ sudo bash install.sh install
$ nginx-ui --version
$ sudo systemctl start nginx-ui
$ sudo systemctl status nginx-ui
Enter fullscreen mode Exit fullscreen mode
Option B: Install via Docker
Runs as a container — you won't be able to edit the host's Nginx configs directly through it.
$ mkdir -p ~/nginx-ui-docker
$ cd ~/nginx-ui-docker
$ sudo mkdir -p /opt/nginx-ui/nginx
$ sudo mkdir -p /opt/nginx-ui/config
$ sudo mkdir -p /opt/nginx-ui/www
$ nano docker-compose.yml
Enter fullscreen mode Exit fullscreen mode
version: '3.8'

services:
 nginx-ui:
   image: uozi/nginx-ui:latest
   container_name: nginx-ui
   restart: always
   environment:
     - TZ=UTC
   volumes:
     - /opt/nginx-ui/nginx:/etc/nginx
     - /opt/nginx-ui/config:/etc/nginx-ui
     - /opt/nginx-ui/www:/var/www
   ports:
     - "127.0.0.1:9000:80"
   networks:
     - nginx-ui-net

networks:
 nginx-ui-net:
   driver: bridge
Enter fullscreen mode Exit fullscreen mode
$ sudo docker compose up -d
$ sudo docker compose ps
$ curl -X GET http://localhost:9000
Enter fullscreen mode Exit fullscreen mode
Configure the Reverse Proxy
Nginx UI listens on localhost:9000. Put it behind a public vhost with WebSocket support (needed for live stats/terminal):
$ cd /etc/nginx/sites-available
$ sudo nano nginx-ui.conf
Enter fullscreen mode Exit fullscreen mode
map $http_upgrade $connection_upgrade {
    default upgrade;
    ''      close;
}

server {
    listen          80;
    listen          [::]:80;

    server_name     nginx-ui.example.com;

    location / {
        proxy_set_header    Host                $host;
        proxy_set_header    X-Real-IP           $remote_addr;
        proxy_set_header    X-Forwarded-For     $proxy_add_x_forwarded_for;
        proxy_set_header    X-Forwarded-Proto   $scheme;
        proxy_http_version  1.1;
        proxy_set_header    Upgrade             $http_upgrade;
        proxy_set_header    Connection          $connection_upgrade;
        proxy_pass          http://127.0.0.1:9000;
    }
}
Enter fullscreen mode Exit fullscreen mode
$ sudo rm -f /etc/nginx/sites-enabled/default
$ sudo ln -s /etc/nginx/sites-available/nginx-ui.conf /etc/nginx/sites-enabled/
$ sudo nginx -t
$ sudo systemctl restart nginx
Enter fullscreen mode Exit fullscreen mode
Secure with Let's Encrypt
$ sudo apt install certbot python3-certbot-nginx -y
$ sudo ufw allow 80,443/tcp
$ sudo ufw reload
$ sudo certbot --nginx -d nginx-ui.example.com -m [email protected] --agree-tos --no-eff
$ sudo systemctl restart nginx-ui
Enter fullscreen mode Exit fullscreen mode
First-Run Setup
Visit https://nginx-ui.example.com:
- Confirm the system info page, click Next.
- Create an admin account (email, username, password), click Install.
- Log in — the dashboard shows uptime, memory, storage, and network stats.
- Under Nginx, toggle Enable stub_status module for web server performance monitoring.
Set Up Certificate Management
- Certificates → Certificates List to view/import existing certs, or Issue Certificate for new ones.
- DNS Credentials → Add to configure a DNS provider API for wildcard certs.
-
ACME User → Add: username, email, CA directory
https://acme-v02.api.letsencrypt.org/directory, leave Proxy/EAB blank. - Toggle Register on Startup, click Save. Confirm status shows Valid.
Create a Virtual Host
1. Point a subdomain (e.g. app.example.com) at your server, then via Nginx UI's Terminal:
$ sudo mkdir -p /var/www/app.example.com
$ sudo nano /var/www/app.example.com/index.html
Enter fullscreen mode Exit fullscreen mode
<html>
<head>
<title>Sample Nginx Virtual Host Application</title>
</head>
<body>
<h1 align="center">Hello from your new virtual host!</h1>
</body>
</html>
Enter fullscreen mode Exit fullscreen mode
$ sudo chown -R www-data:www-data /var/www/app.example.com
Enter fullscreen mode Exit fullscreen mode
2. Manage Sites → Sites List → Add:
- Config name, listen ports (80),
server_name= your domain,root=/var/www/app.example.com - Index order:
index.html,index.htm,index.php - Next → toggle Enable TLS → OK
- Toggle Encrypt website with Let's Encrypt → HTTP01 challenge, EC256 key, select your ACME user
- Next, watch certificate generation complete, Next to apply
Confirm the vhost shows Enabled, then visit https://app.example.com to see the page live. Advanced Mode on the edit screen gives you raw Nginx config access if you need it.
Next Steps
Nginx UI is managing your server's Nginx config with automated TLS and a live dashboard. From here:
- Explore the MCP/LLM chat integration for config assistance
- Add more virtual hosts the same way for each app you host
- Set up scheduled config backups from Manage Sites
For the full guide, visit the original article on Vultr Docs.
0 Comments
Log in to join the conversation.No comments yet. Be the first to share your thoughts.