
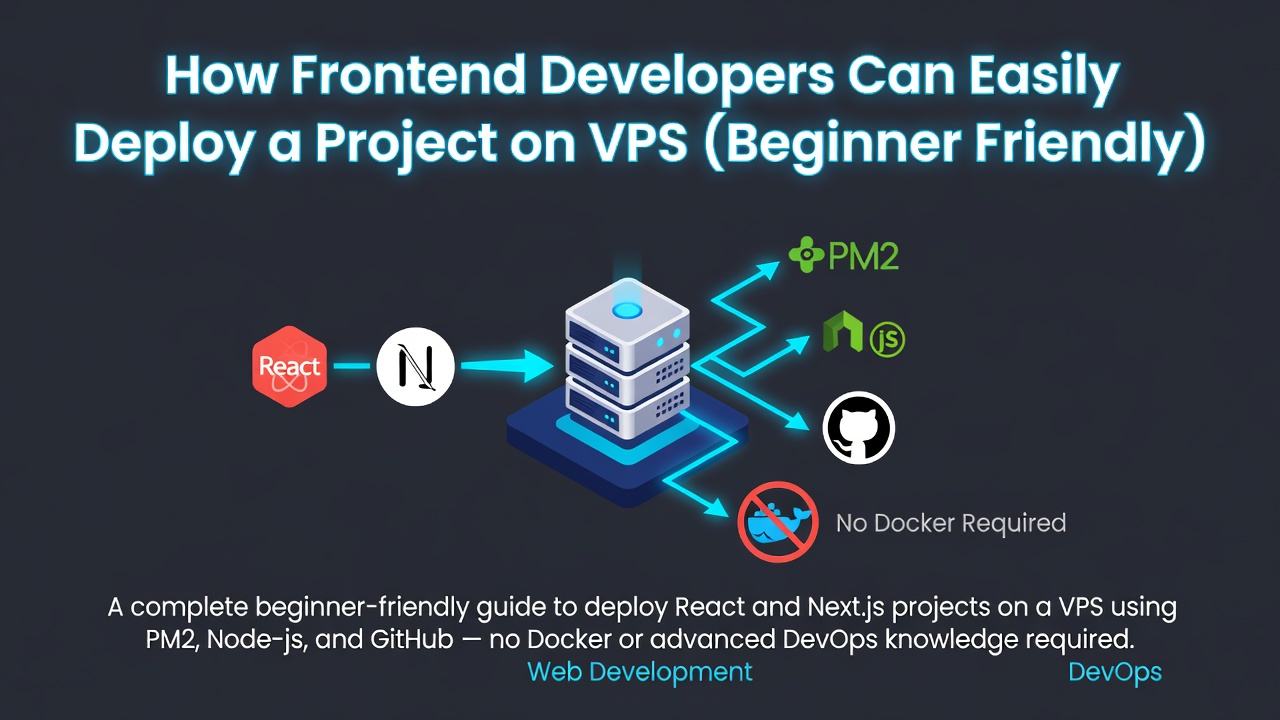


Many frontend developers think VPS deployment is difficult and only for backend or DevOps engineers.
But the truth is — Frontend developers can easily deploy their own projects on a VPS.
In this article, I’ll show you a simple step-by-step guide to deploy a frontend project (React / Next.js) on a VPS using PM2, Node.js, and GitHub — no advanced backend knowledge required.
We’ll cover both npm and pnpm.
Who is This Guide For?
- Frontend Developers
- React / Next.js Developers
- Beginners who want to deploy without DevOps complexity
Not required: Docker, Nginx, CI/CD
Requirements
Before starting, make sure you have:
- A VPS (A2 Hosting, DigitalOcean, AWS, etc.)
- VPS IP Address
- Username & Password
- A frontend project on GitHub
- Node.js installed on VPS
- npm or pnpm installed
- PM2 installed globally
Install PM2
Using npm:
npm install -g pm2
Enter fullscreen mode Exit fullscreen mode
Using pnpm:
pnpm add -g pm2
Enter fullscreen mode Exit fullscreen mode
Step 1: Login to VPS Using Termius
Open Termius (or any terminal) and login to your VPS using:
- IP Address
- Username
- Password
After successful login, you will get terminal access.
Step 2: Go to Project Directory
cd /var/www
Enter fullscreen mode Exit fullscreen mode
/var/www is the standard location for web projects on most VPS.
Step 3: Check Existing Files
ls
Enter fullscreen mode Exit fullscreen mode
Step 4: Clone Project from GitHub (Using SSH)
git clone [email protected]:YourUsername/YourProject.git
Enter fullscreen mode Exit fullscreen mode
Important Notes:
- Your GitHub repository must have SSH key set up
- VPS SSH key should also be configured
Step 5: Verify Project Folder
ls
Enter fullscreen mode Exit fullscreen mode
You should now see your project folder (for example: my-project).
Step 6: Enter Project Directory
cd my-project
Enter fullscreen mode Exit fullscreen mode
Step 7: Install Dependencies
Using npm:
npm install
Enter fullscreen mode Exit fullscreen mode
Using pnpm:
pnpm install
Enter fullscreen mode Exit fullscreen mode
Step 8: Build the Project
Using npm:
npm run build
Enter fullscreen mode Exit fullscreen mode
Using pnpm:
pnpm build
Enter fullscreen mode Exit fullscreen mode
Step 9: Open Port in VPS Firewall
sudo ufw allow 3000
Enter fullscreen mode Exit fullscreen mode
Step 10: Reload Firewall
sudo ufw reload
Enter fullscreen mode Exit fullscreen mode
Step 11: Start Project Using PM2
Using npm:
pm2 start npm --name "my-project" -- start -- --port 3000
Enter fullscreen mode Exit fullscreen mode
Using pnpm:
pm2 start pnpm --name "my-project" -- start -- --port 3000
Enter fullscreen mode Exit fullscreen mode
Explanation:
-
my-project→ Process name -
3000→ Port number (you can change it)
Step 12: Check PM2 Process List
pm2 ls
Enter fullscreen mode Exit fullscreen mode
Step 13: Restart Project (Safe Practice)
pm2 restart my-project
Enter fullscreen mode Exit fullscreen mode
Step 14: Access Live Project in Browser
Open your browser and visit:
http://YOUR_VPS_IP:3000
Enter fullscreen mode Exit fullscreen mode
Congratulations!
Your frontend project is now live on the VPS.
Final Tips
- Always use PM2 so that your project keeps running even if you close the terminal.
- You can change the port number according to your need.
- For custom domain, you can later add Nginx (optional).
- Prefer pnpm if you want faster installs and less disk space usage.
If you found this guide helpful, feel free to check out more of my work here:
Portfolio: https://rakibulislamdev.me
Original Article: https://rakibulislamdev.me/blog/how-frontend-developers-can-easily-deploy-a-project-on-vps-beginner-friendly
0 Comments
Log in to join the conversation.No comments yet. Be the first to share your thoughts.