
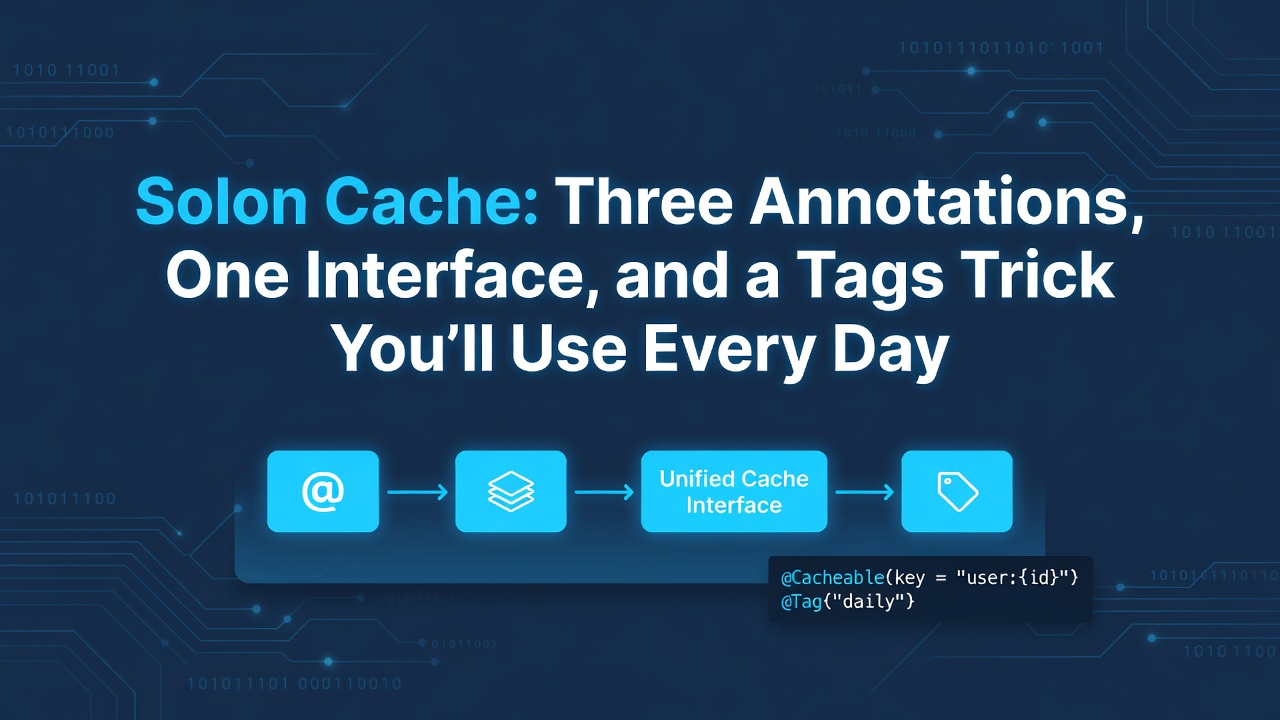
我写 Solon 已经有一段时间了,早期让我感到惊讶的一点是它的缓存层有多干净。并不是因为它做了什么革命性的事情——它并没有——而是因为它 不妨碍你,同时还能处理你在生产中实际遇到的边缘情况。
让我来分享一下我学到的东西。
三个注解
Solon 只提供了三个缓存注解。不多不少:
-
@Cache— 读透缓存。如果 key 存在,直接返回;否则执行方法并缓存结果。 -
@CachePut— 始终执行方法,然后用结果更新缓存。 -
@CacheRemove— 执行方法,然后清除一个或多个缓存条目。
下面是一个展示全部三个注解的最小示例:
@Controller
public class CacheController {
    @Cache(key = "user:${userId}", seconds = 30)
    @Mapping("/user/{userId}")
    public User getUser(int userId) {
        return userService.findById(userId);
    }

    @CachePut(key = "user:${userId}")
    @Mapping("/user/{userId}/refresh")
    public User refreshUser(int userId) {
        return userService.findById(userId);
    }

    @CacheRemove(tags = "users")
    @Mapping("/user/{userId}/delete")
    public String deleteUser(int userId) {
        userService.delete(userId);
        return "deleted";
    }
}
Enter fullscreen mode Exit fullscreen mode
@CacheRemove(tags = "users") 这行值得仔细看看——它实现了大多数基于注解的缓存系统都很难做到的事。
Tags 技巧
大多数缓存框架只提供基于 key 的清除。你知道 key,就删除它。这对简单场景没问题,但如果是“清除所有与用户相关的缓存”呢?
这时 tags 就派上用场了。当你用 @Cache(tags = "users") 标记一个方法时,Solon 不仅把值存到计算出的 key 下,还会把这个 key 记录到 tag 索引中。之后当你调用 @CacheRemove(tags = "users") 时,它会找到与该 tag 关联的所有 key 并全部清除。
@Cache(key = "user:${userId}", tags = "users")
@Mapping("/user/{userId}")
public User getUser(int userId) { ... }

@Cache(key = "user:${userId}:profile", tags = "users")
@Mapping("/user/{userId}/profile")
public Profile getProfile(int userId) { ... }

// 一次操作清除两个缓存
@CacheRemove(tags = "users")
@Mapping("/admin/users/flush")
public String flushUsers() { ... }
Enter fullscreen mode Exit fullscreen mode
我经常用这个模式来处理分页列表。你缓存搜索结果的第 1 页、第 2 页、第 3 页——都打上 "search" tag。当新数据进来时,一次 @CacheRemove(tags = "search") 就能全部清除。
文档中提醒过一点:tags 通过把收集到的 key 存成列表来工作,所以不要给同一个 tag 标记成千上万个 key。对于大多数真实场景——每个 tag 几十到几百个 key——完全没问题。
键模板:超越简单字符串
key 参数支持 ${} 表达式,可解析方法参数:
// 简单参数
@Cache(key = "user:${userId}")
public User getUser(int userId) { ... }

// 嵌套属性
@Cache(key = "user:${user.id}")
public User getUser(UserDto user) { ... }

// Map 键
@Cache(key = "result:${params.type}")
public List<Result> search(Map<String, String> params) { ... }
Enter fullscreen mode Exit fullscreen mode
如果你不指定 key,Solon 会根据所有参数名和值的 MD5 自动生成一个。它能用,但我建议始终提供明确的 key——这能让调试和手动检查更容易。
还有一个特殊的 ${.property} 语法用于引用返回值,主要用于 @CachePut:
@CachePut(key = "order:${.orderId}")
public Order createOrder(CreateRequest req) {
    // ... 创建订单并返回
}
Enter fullscreen mode Exit fullscreen mode
让缓存可替换的接口
底层所有缓存都通过 CacheService 完成:
public interface CacheService {
    void store(String key, Object obj, int seconds);
    Object get(String key);
    void remove(String key);
}
Enter fullscreen mode Exit fullscreen mode
只有三个方法。默认实现是 LocalCacheService——一个适用于单实例应用的内存缓存。
但真正的威力在于你可以用一个简单的 bean 定义来替换它:
@Configuration
public class Config {
    @Bean
    public CacheService cache(@Inject("${cache}") Properties props) {
        return new MemCacheService(props);
    }
}
Enter fullscreen mode Exit fullscreen mode
一旦你定义了 CacheService bean,它就会全局替换默认实现。所有 @Cache、@CachePut 和 @CacheRemove 注解都会自动使用新的后端。
通过配置切换后端
Solon 还提供了一个 CacheServiceSupplier,可以根据配置选择后端:
demo.cache1:
  driverType: "local"
  # driverType: "redis"
  # driverType: "memcached"
Enter fullscreen mode Exit fullscreen mode
@Bean
public CacheService cache1(@Inject("${demo.cache1}") CacheServiceSupplier supplier) {
    return supplier.get();
}
Enter fullscreen mode Exit fullscreen mode
开箱即用的支持后端:
| 后端 | 插件 | 说明 |
|---|---|---|
| Local |
solon-data(内置) |
默认,无需额外依赖 |
| Redis |
solon-cache-jedis 或 solon-cache-redisson
|
任选其一 |
| Memcached | solon-cache-spymemcached |
老牌但仍在使用 |
二级缓存:本地 + 远程
我在读密集型服务中发现的一个有用模式是二级缓存。它在远程缓存(Redis、Memcached)前加一层本地内存缓存:
@Bean
public CacheService cache1(@Inject("${demo.cache1}") CacheServiceSupplier supplier) {
    CacheService remote = supplier.get();

    if (remote instanceof LocalCacheService) {
        return remote;
    }

    // 本地 L1 + 远程 L2,带 5 秒缓冲
    LocalCacheService local = new LocalCacheService();
    return new SecondCacheService(local, remote, 5);
}
Enter fullscreen mode Exit fullscreen mode
“缓冲”意味着:当本地缓存未命中但远程缓存命中时,结果会在本地存储 5 秒。这 5 秒内的后续读取会直接命中本地缓存——无需网络往返。对于热点数据,这可以显著减少 Redis 负载。
分区设计
当多个服务共享同一个 Redis 实例时,你会想要对缓存进行分区。Solon 通过命名缓存服务支持这一点:
demo.cache.user:
  keyHeader: "user"
  server: "localhost:6379"
  db: 0

demo.cache.order:
  keyHeader: "order"
  server: "localhost:6379"
  db: 1
Enter fullscreen mode Exit fullscreen mode
@Configuration
public class Config {
    @Bean("cache_user")
    public CacheService cacheUser(@Inject("${demo.cache.user}") RedisCacheService cache) {
        return cache.enableMd5key(false);
    }

    @Bean("cache_order")
    public CacheService cacheOrder(@Inject("${demo.cache.order}") RedisCacheService cache) {
        return cache.enableMd5key(false);
    }
}
Enter fullscreen mode Exit fullscreen mode
然后在服务中使用它们:
@Component
public class OrderService {
    @Cache(service = "cache_order")
    public String hello(String name) {
        return String.format("Hello %s!", name);
    }
}
Enter fullscreen mode Exit fullscreen mode
不同的数据库、不同的 key 前缀,注解只需一个 service 属性就能选择正确的缓存服务。
我想改进的地方
如果要挑一个毛病,那就是当你不指定 key 时,自动生成的 key 是所有参数的 MD5。实践中我总是指定明确的 key,所以这对我不是问题。但对框架新手来说,看到缓存存储中不透明的哈希字符串可能会造成困惑。
总结
Solon 的缓存层非常简洁。三个注解、一个接口,以及一个比我用过的多数框架都更好地处理批量失效的 tags 系统。CacheService 接口实现起来非常简单,这意味着你可以接入几乎任何你想要的后端——或者为你的特定用例编写自定义实现。
如果你已经在使用 Solon,缓存注解位于 solon-data 模块中,你可能已经有这个依赖了。只需添加 @Cache 即可开始使用。
0 Comments
Log in to join the conversation.No comments yet. Be the first to share your thoughts.