
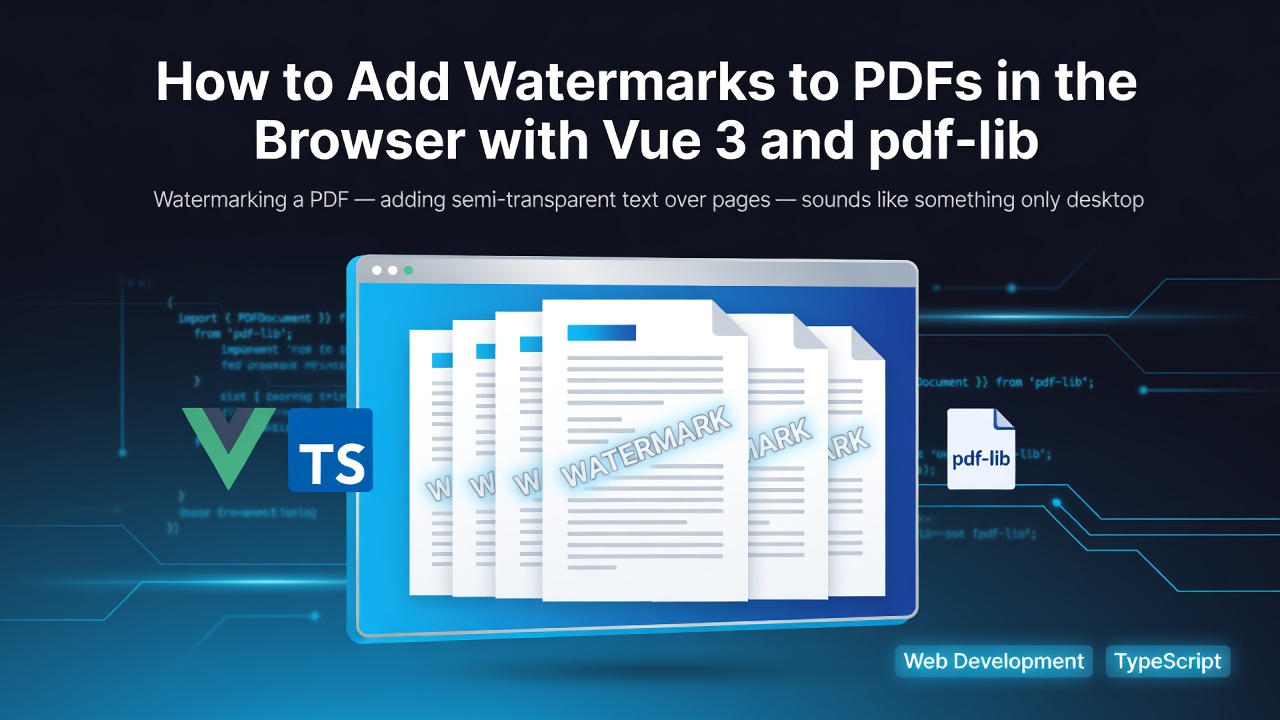

為 PDF 新增浮水印——在頁面上疊加半透明文字——聽起來像是只有桌面軟體才能處理的功能。但透過 pdf-lib 與一些 canvas 計算,你可以在瀏覽器中打造一套完整的浮水印工具。
這篇文章將帶你了解實作細節,包括文字渲染、旋轉,以及多頁面支援。
為什麼選擇客戶端?
傳統的浮水印工具會上傳檔案、在伺服器上處理,再將結果傳回。對於可能涉及機密或敏感資訊的文件,這會帶來不必要的隱私風險。採用瀏覽器端的方式:
- 所有處理都在本地進行
- 檔案保留在使用者裝置上
- 載入後即可離線運作
- 避免伺服器端頻寬成本
技術堆疊
- Vue 3 + Composition API
- pdf-lib 用於 PDF 操作與浮水印
-
PDF.js (
pdfjs-dist) 用於預覽渲染 - Vite 用於打包
新增文字浮水印
pdf-lib 提供內建的 PDFDocument.embedFont() 方法用於自訂字型,以及 page.drawText() 用於放置文字。以下是如何在所有頁面新增旋轉、半透明的浮水印:
<script setup lang="ts">
import { ref } from 'vue'
import { PDFDocument, rgb, StandardFonts } from 'pdf-lib'

const file = ref<File | null>(null)
const watermarkText = ref('DRAFT')
const opacity = ref(0.3)
const fontSize = ref(72)
const rotationDeg = ref(-45)
const applying = ref(false)

async function handleFileUpload(selected: File) {
  file.value = selected
}

async function applyWatermark() {
  if (!file.value) return
  applying.value = true

  try {
    const arrayBuffer = await file.value.arrayBuffer()
    const pdfDoc = await PDFDocument.load(arrayBuffer)

    // Embed the Helvetica font — required for correct rendering
    const helveticaFont = await pdfDoc.embedFont(StandardFonts.HelveticaBold)

    const pages = pdfDoc.getPages()

    pages.forEach((page) => {
      const { width, height } = page.getSize()

      page.drawText(watermarkText.value, {
        x: (width - helveticaFont.widthOfTextAtSize(watermarkText.value, fontSize.value)) / 2,
        y: height / 2,
        size: fontSize.value,
        font: helveticaFont,
        color: rgb(128, 128, 128), // mid-gray
        rotate: {
          type: 'rad',
          angle: (rotationDeg.value * Math.PI) / 180,
        },
      })
    })

    const watermarkedBytes = await pdfDoc.save()
    const blob = new Blob([watermarkedBytes], { type: 'application/pdf' })
    downloadBlob(blob, `watermarked_${file.value.name}`)
  } finally {
    applying.value = false
  }
}

function downloadBlob(blob: Blob, name: string) {
  const url = URL.createObjectURL(blob)
  const a = document.createElement('a')
  a.href = url
  a.download = name
  a.click()
  URL.revokeObjectURL(url)
}
</script>
Enter fullscreen mode Exit fullscreen mode
旋轉的挑戰
棘手的部分在於如何讓文字以自身中心旋轉。pdf-lib 是相對於原點 (x, y) 進行旋轉,而該點是字元左下角而非字串中心。因此以 -45° 旋轉時,看起來並非置中。
為了解決這個問題,我先計算文字的邊界框,再調整位置,使視覺中心與頁面中心對齊:
function getCenteredPosition(page: Page, text: string, fontSize: number, font: PDFFont) {
  const { width, height } = page.getSize()
  const textWidth = font.widthOfTextAtSize(text, fontSize)
  const textHeight = fontSize

  // Account for rotation — the bounding box changes when text is rotated
  const radians = (-45 * Math.PI) / 180
  const cos = Math.abs(Math.cos(radians))
  const sin = Math.abs(Math.sin(radians))

  // Rotated bounding box dimensions
  const rotatedWidth = textWidth * cos + textHeight * sin
  const rotatedHeight = textWidth * sin + textHeight * cos

  return {
    x: (width - rotatedWidth) / 2,
    y: (height - rotatedHeight) / 2,
  }
}
Enter fullscreen mode Exit fullscreen mode
讓它可自訂
對於正式工具,你需要的遠不止單一方案:
| 設定 | 範圍 | 預設值 | 用途 |
|---|---|---|---|
| 文字 | 任何 Unicode | "DRAFT" | 要顯示的內容 |
| 字型大小 | 12–200pt | 72 | 可見度等級 |
| 不透明度 | 0.05–0.8 | 0.3 | 細微程度控制 |
| 旋轉角度 | 0–360° | -45° | 角度偏好 |
| 顏色 | Hex/RGB | 灰色 | 品牌搭配 |
| 位置 | 置中/自訂 | 置中 | 放置位置 |
| 頁面 | 全部/範圍/選取 | 全部 | 範圍控制 |
處理大型 PDF
對於超過 100 頁的 PDF,新增浮水印可能需要明顯的時間。關鍵優化如下:
- 批次處理:將頁面操作分組,而不是每處理一頁就儲存
- 漸進式渲染:先顯示前幾頁的預覽,再套用至全部頁面
- 取消選項:讓使用者可在處理中途停止操作
延伸探討
對於簡單的浮水印,pdf-lib 內建的 drawText() 已足夠。如果你需要影像式浮水印(具透明度的 PNG 標誌),則需將影像嵌入為表單,再以覆疊方式繪製。這是另一個值得在其他文章探討的主題。
想看完整原始碼?github.com/sunshey/pdf-tool。
如果你需要進階的浮水印功能——批次操作、標誌覆疊或排程處理——請參考 Wondershare PDFelement。
0 Comments
Log in to join the conversation.No comments yet. Be the first to share your thoughts.