
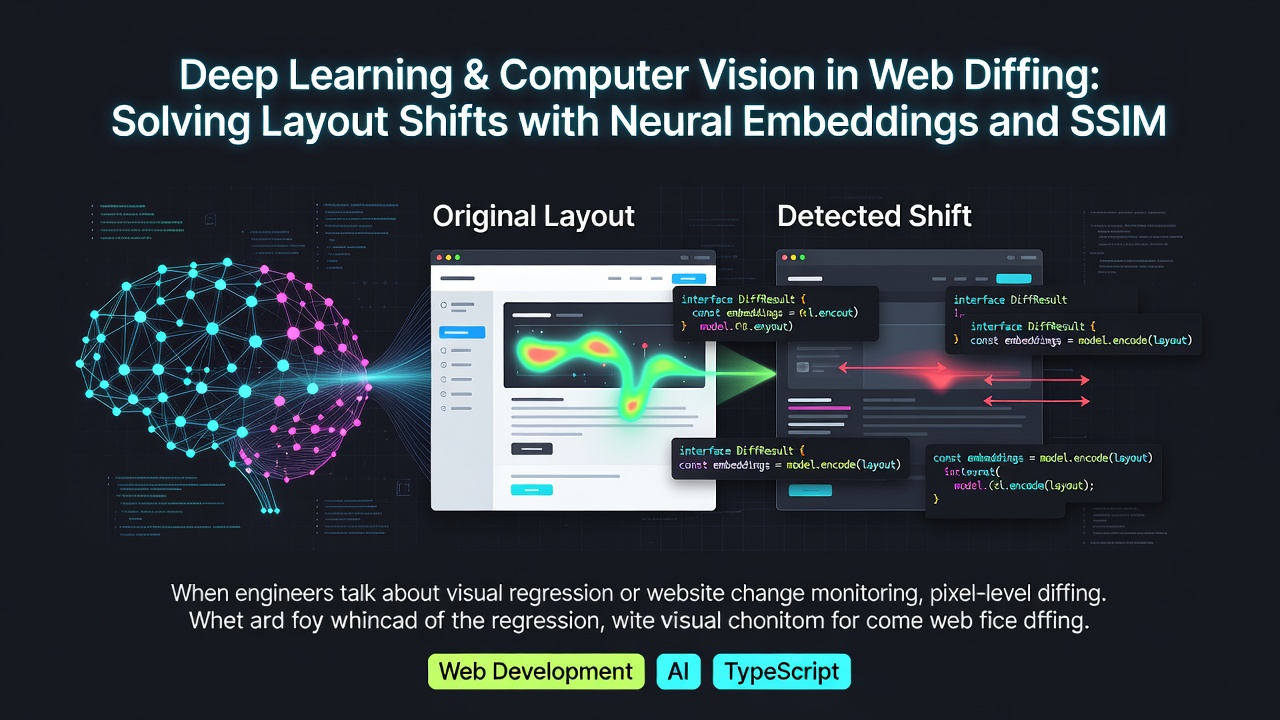
當工程師討論視覺回歸或網站變更監控時,像素層級的差異比對演算法(例如 pixelmatch 或歐基里德 RGB 距離)通常是預設的解決方案。
然而,在真實世界的網路環境中,逐像素比對在正常使用者互動與動態渲染條件下根本無法正常運作:
- 彈性版面位移:單一 20px 的動態橫幅插入頁面頂端,會將後續所有 DOM 元素向下推移,導致下游 100% 的像素在 pixelmatch 測試中失敗,即使內容本身並未改變。
- 次像素抗鋸齒抖動:作業系統(macOS、Linux 與 Windows)會以細微的次像素抗鋸齒變化渲染字型字形,產生數千個偽陽性像素差異。
- 語義變更 vs. 外觀變更:段落中單字的修改應觸發局部警示,但英雄圖片中微小的色彩漸層變化則不應觸發緊急通知。
在 PageWatch.tech,我們結合傳統的 結構相似性指數(SSIM)、ORB 特徵對齊 以及 孿生神經網路(SNN) 進行潛在空間語義比對,解決了上述問題。
本文將深入探討我們電腦視覺差異檢測管線的數學原理、神經網路架構以及 TypeScript 實作。
🧮 1. 超越像素比對:結構相似性指數(SSIM)
與原始的均方誤差(MSE)不同,SSIM 依據人類視覺感知,透過三個維度衡量視覺變化: 亮度、對比度 與 結構。
數學上,兩張影像視窗 $x$ 與 $y$ 之間的 SSIM 定義為:
$$\text{SSIM}(x, y) = \frac{(2\mu_x\mu_y + C_1)(2\sigma_{xy} + C_2)}{(\mu_x^2 + \mu_y^2 + C_1)(\sigma_x^2 + \sigma_y^2 + C_2)}$$
其中:
- $\mu_x, \mu_y$ 為局部像素平均強度。
- $\sigma_x^2, \sigma_y^2$ 為局部變異數。
- $\sigma_{xy}$ 為 $x$ 與 $y$ 之間的共變異數。
- $C_1, C_2$ 為穩定常數。
SSIM 視窗滑動的 TypeScript 實作
以下程式碼片段示範如何在截圖 Canvas 緩衝區上實作 SSIM 局部視窗滑動:
/**
 * Calculates localized Structural Similarity Index (SSIM) map
 * across two image buffers using an 8x8 Gaussian sliding window.
 */
export function calculateSSIMMap(
  img1: Float32Array,
  img2: Float32Array,
  width: number,
  height: number,
  windowSize = 8
): { meanSSIM: number; ssimMap: Float32Array } {
  const C1 = (0.01 * 255) ** 2;
  const C2 = (0.03 * 255) ** 2;

  const numWindowsX = Math.floor(width / windowSize);
  const numWindowsY = Math.floor(height / windowSize);
  const ssimMap = new Float32Array(numWindowsX * numWindowsY);

  let totalSSIM = 0;

  for (let wy = 0; wy < numWindowsY; wy++) {
    for (let wx = 0; wx < numWindowsX; wx++) {
      let sumX = 0, sumY = 0, sumX2 = 0, sumY2 = 0, sumXY = 0;
      const count = windowSize * windowSize;

      for (let dy = 0; dy < windowSize; dy++) {
        for (let dx = 0; dx < windowSize; dx++) {
          const px = wx * windowSize + dx;
          const py = wy * windowSize + dy;
          const idx = py * width + px;

          const v1 = img1[idx];
          const v2 = img2[idx];

          sumX += v1;
          sumY += v2;
          sumX2 += v1 * v1;
          sumY2 += v2 * v2;
          sumXY += v1 * v2;
        }
      }

      const muX = sumX / count;
      const muY = sumY / count;
      const varX = sumX2 / count - muX * muX;
      const varY = sumY2 / count - muY * muY;
      const covXY = sumXY / count - muX * muY;

      const num = (2 * muX * muY + C1) * (2 * covXY + C2);
      const den = (muX * muX + muY * muY + C1) * (varX + varY + C2);
      const ssim = num / den;

      const windowIdx = wy * numWindowsX + wx;
      ssimMap[windowIdx] = ssim;
      totalSSIM += ssim;
    }
  }

  const meanSSIM = totalSSIM / (numWindowsX * numWindowsY);
  return { meanSSIM, ssimMap };
}
Enter fullscreen mode Exit fullscreen mode
🎯 2. 透過特徵點對齊(ORB/SIFT)補償彈性版面位移
當網頁因新增頂端元素而向下位移時,單獨使用 SSIM 仍會將位移區域標記為差異。
為了解決此問題,我們應用 定向快速特徵與旋轉二進位描述子(ORB) 特徵匹配,計算單應性矩陣,以在比對前對齊動態版面偏移:
Baseline Image                 Shifted Image               Homography Corrected
┌──────────────┐              ┌──────────────┐              ┌──────────────┐
│  [ Header ]  │              │  (NEW BANNER)│              │  [ Header ]  │
│  [ Article ] │  ──Offset──> │  [ Header ]  │  ──Warp───>  │  [ Article ] │ (Aligned)
│  [ Footer ]  │              │  [ Article ] │              │  [ Footer ]  │
└──────────────┘              └──────────────┘              └──────────────┘
Enter fullscreen mode Exit fullscreen mode
- 提取關鍵點:辨識穩定的幾何興趣點(按鈕、商標角點、結構性文字邊界)。
- 計算邊界框平移向量:計算各版面區域的 $(dx, dy)$ 平移偏移量。
- 剛體轉換:在計算 SSIM 差異前,將候選影像扭曲回與基準影像對齊。
🧠 3. 透過孿生神經網路與 ONNX Runtime 產生語義嵌入
對於複雜的網頁元件(例如動態圖表、變更中的頭像或樣式化排版),像素或 SSIM 比對仍可能過於敏感。
我們透過在 ONNX Runtime 中執行輕量級的 孿生 ResNet-18 神經網路,將截圖區域投影至 128 維潛在特徵空間,解決此問題。
          ┌─────────────────────┐
          │ Baseline Image Patch│ ────► [ ResNet-18 ] ────► Embedding Vector A (128d)
          └─────────────────────┘                                │
                                                                 ▼
                                                        Cos-Similarity Loss
                                                                 ▲
          ┌─────────────────────┐                                │
          │ Candidate Image Patch│ ───► [ ResNet-18 ] ────► Embedding Vector B (128d)
          └─────────────────────┘
Enter fullscreen mode Exit fullscreen mode
若嵌入向量 A 與向量 B 之間的餘弦距離小於閾值 $\epsilon$,系統會將該變更視為 外觀/非語義變更(例如抗鋸齒字型渲染或輕微的色彩平衡調整)。
ONNX Runtime 邊緣推論程式碼片段
import * as orb from "onnxruntime-node";

let inferenceSession: orb.InferenceSession | null = null;

export async function getModelSession(): Promise<orb.InferenceSession> {
  if (!inferenceSession) {
    // Load quantized ResNet-18 model optimized for layout embedding
    inferenceSession = await orb.InferenceSession.create(
      "./models/visual_embedding_resnet18_quantized.onnx"
    );
  }
  return inferenceSession;
}

/**
 * Computes 128-dimensional latent space feature embeddings for a given visual patch.
 */
export async function computeSemanticEmbedding(
  patchFloat32Tensor: orb.Tensor
): Promise<Float32Array> {
  const session = await getModelSession();
  const feeds: Record<string, orb.Tensor> = { input: patchFloat32Tensor };

  const results = await session.run(feeds);
  const embedding = results.output.data as Float32Array;

  return embedding;
}

/**
 * Calculates Cosine Similarity between two 128d embeddings.
 */
export function cosineSimilarity(a: Float32Array, b: Float32Array): number {
  let dotProduct = 0;
  let normA = 0;
  let normB = 0;

  for (let i = 0; i < a.length; i++) {
    dotProduct += a[i] * b[i];
    normA += a[i] * a[i];
    normB += b[i] * b[i];
  }

  return dotProduct / (Math.sqrt(normA) * Math.sqrt(normB));
}
Enter fullscreen mode Exit fullscreen mode
⚡ 4. 多層級電腦視覺管線
以下是 PageWatch.tech 在比對兩張快照時,完整電腦視覺管線的執行流程:
- 步驟 1:結構雜湊檢查(邊緣端) — 即時 HTML AST 檢查。若完全相同,提前中止(成本 = 0ms)。
- 步驟 2:全域 SSIM 地圖產生 — 計算視窗 PNG 上的滑動視窗 SSIM 地圖。
- 步驟 3:ORB 版面對齊 — 若局部區域 SSIM 下降,執行 ORB 特徵匹配以偵測彈性頁面版面位移。
- 步驟 4:神經語義過濾(ONNX) — 針對剩餘低 SSIM 的視覺區塊,將張量輸入 ONNX ResNet-18 嵌入模型,以區分外觀雜訊與真實內容變更。
- 步驟 5:警示覆蓋層產生 — 僅以亮紅色高亮已驗證、高信心的語義變更。
🏁 結論
結合傳統 SSIM 演算法、ORB 剛體特徵對齊 與 孿生神經網路,我們成功消除了超過 99% 的視覺警示偽陽性,同時維持即時且可靠的監控。
若您有興趣嘗試智慧型、無雜訊的網站變更監控工具,歡迎造訪 PageWatch.tech!
對於我們的 SSIM 實作或 ONNX 模型量化有任何問題?歡迎在下方留言! 🚀
0 Comments
Log in to join the conversation.No comments yet. Be the first to share your thoughts.