
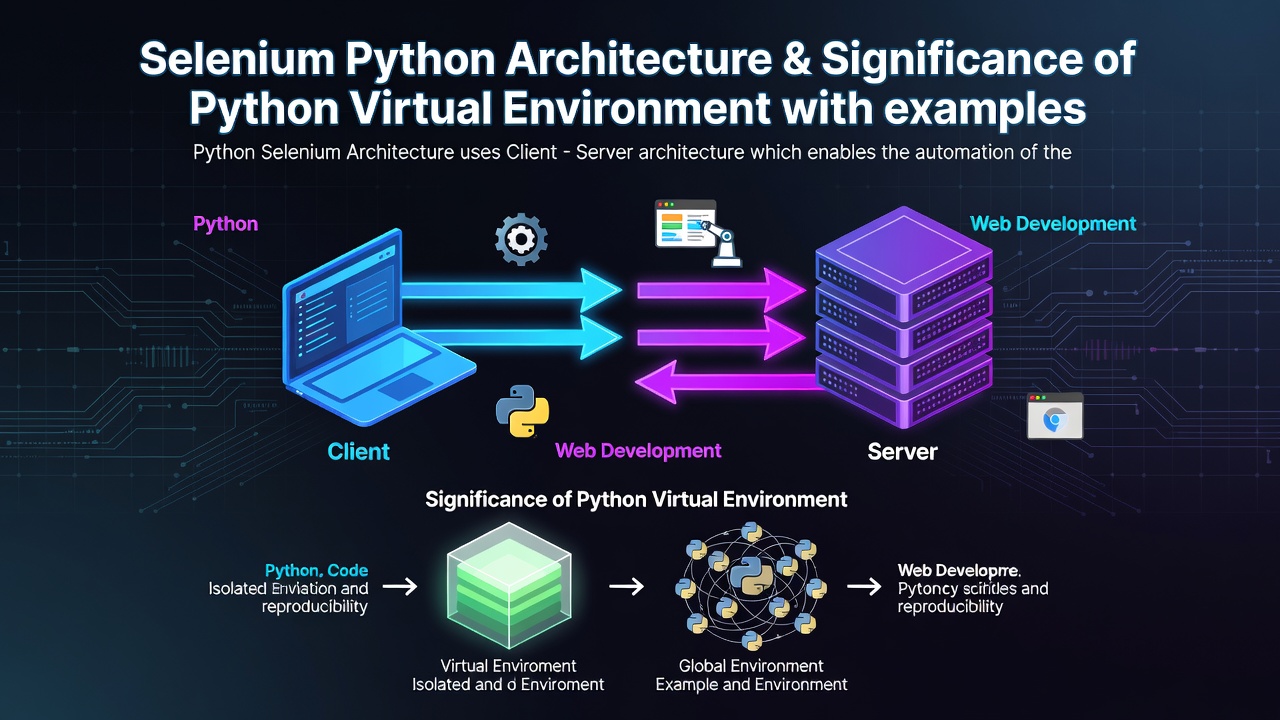
Python Selenium Architecture uses Client - Server architecture which enables the automation of the real browser via code. Compared to other approaches, where the user would have to operate the JavaScript by simulating the input, Selenium instructs the browser in conventional manners. Every time the user initiates an HTTP request by Python, the browser can effortlessly read and proceed with the instructions.
The main components consist of
the user’s Python code
the Python bindings (library)
the browser-specific driver
the browser itself.
1. Your Code
In your code, you simply use Selenium to open up a browser instance and perform the desired actions:
from selenium import webdriver
from selenium.webdriver.common.by import By
options = webdriver.ChromeOptions()
driver = webdriver.Chrome(options=options)
driver.get("https://example.com")
element = driver.find_element(By.ID, "submit-button")
element.click()
The code above will open up a browser instance and submit the form on the page.
2. Python Bindings (Library)
The Python bindings (library) represent the pip package that you have installed on your machine. It serves to convert the Python functions into HTTP requests that the browser will read and perform. For instance, when you send the click() function via the driver instance, the binding will turn it into a JSON-encoded request that follows the WebDriver REST API standard. The tool is open-source and available on GitHub.
3. Browser Driver
Every browser has its specific driver, which is the reason why you have to install additional packages for using Python Selenium. They receive the HTTP requests from the Python bindings and execute the corresponding actions in the browser. In most cases, the drivers run as independent processes on the port 9515 and reply to the requests from Python. With Selenium 4+, the drivers are automatically detected and installed via the Selenium Manager. Therefore, you do not have to manually specify their location anymore.
4. Web Browser
The web browser represents the software that you want to automate with your Python code. Unlike other automation tools that require you to use their lightweight counterpart (e.g., Puppeteer for Chrome), Python Selenium allows you to directly control your browser of choice like Chrome driver for Chrome, GeckoDriver for Firefox , EdgeDriver for MS Edge. The drivers accept the HTTP requests from Python, process them, and reply with the corresponding response.
Overview
The main steps that occur when you are using Python Selenium:
The first command (webdriver.Chrome()) launches the ChromeDriver in a separate process
The next command (driver.get("https://example.com")) will send the POST request with URL to the driver
Upon receiving the request, the Chrome browser will open up the requested URL
Once the page has been loaded, the browser will notify the driver and return the response to your Python code
When you call the quit() command, the driver will send a final request to close the browser instance
WebDriver Protocols
In previous Selenium versions (3.x), the communication between Python code and the browser followed the JSON Wire Protocol. It was based on the HTTP requests/responses that the browser received and responded to. Fortunately, most of the legacy endpoints have been deprecated, and Selenium 4+ uses the modern W3C standard. It implies that there is no need for extra HTTP requests/responses anymore since the WebDriver and browsers speak directly to each other. In some cases, the WebSockets protocol is used to establish a two-way communication channel for faster execution. It is especially useful when executing JavaScript assertions.
Selenium Grid
When it comes to distributing tests across multiple browsers, you will want to consider Selenium Grid. It has a hub that receives the HTTP requests from your Python code and nodes that actually perform the tests and return the results. In other words, the hub is used as a central point for managing multiple nodes. These nodes can be located anywhere as long as they have internet access. Furthermore, you can set up different nodes in accordance with the required OS/browser/version combinations.
Significance of Python Environment Variable
A Python virtual environment is a self-contained directory that houses a specific Python project. This virtual environment encapsulates the project’s dependencies in an isolated space, separate from your main Python installation and from any other Python projects on your computer.
The goal of using a virtual environment is to allow each project to manage its unique package requirements without interference from other projects, thus simplifying dependency management and mitigating version conflicts.
If you don’t use a virtual environment, any package that you install using pip is installed globally on your system. Your system doesn't know the package belongs to a particular project; it just sees it as a library available to all projects.
This can quickly become a problem when different projects need different versions of the same package. Imagine you have one project that relies on Selenium version 3 and another project that needs Selenium version 4. If you install Selenium 4 globally, it might overwrite Selenium 3, breaking the first project.
A virtual environment solves this by providing each project with its own environment where packages are installed, and versions can be specific to each project’s needs without affecting any others.
When you create a virtual environment, Python generates a dedicated directory that contains:
- A copy of the Python interpreter (often as a symlink to your system’s Python)
- Its own instance of pip, the package installer
- A dedicated location for installing packages (typically within a site-packages directory inside the virtual environment)
- Configuration files that point to the base Python installation the virtual environment was created from
After creating the environment, any package you install with pip goes directly into this directory instead of your system’s global Python installation.
Activating the environment
Before you can use the packages within a virtual environment, you must activate it. Activating means changing your system’s environment so that calls to python and pip in your terminal now refer to the Python and pip executables inside your activated virtual environment.
Once activated, python in your terminal points to the virtual environment's Python interpreter, and any packages you pip install are installed only within the virtual environment, leaving your main system Python installation unaffected.
Installing packages within the virtual environment
When a virtual environment is active, the packages you install are completely isolated. They are stored within the virtual environment directory and do not appear in your global Python installation or any other project’s virtual environment. This allows different projects to install and use specific, even conflicting, versions of the same package.
Freezing the environment
You can create a requirements.txt file that lists every package and its specific version currently installed in your active virtual environment. This is invaluable for sharing your project with others or for automated build and deployment systems, as it guarantees that the same set of dependencies can be recreated accurately in another environment later on. You can install all the listed packages with:
``bash
pip install -r requirements.txt
`
Deactivating the environment
When you’re finished working with a project and its virtual environment, you can deactivate it by simply typing:
`bash
deactivate
`
This switches your terminal back to using the system’s Python installation, and any further pip install commands will be directed to the global environment.
Examples for Python Virtual Environment
Creating the environment
`bash

python -m venv venv

`
Folder structure created
`plaintext

venv/

├── bin/          # (Scripts/ on Windows)

├── lib/

└── pyvenv.cfg

`
Activation (macOS/Linux)
`bash

source venv/bin/activate

`
Activation (Windows - Command Prompt)
`bash

venv\Scripts\activate.bat

`
Activation (Windows - PowerShell)
`bash

venv\Scripts\Activate.ps1

`
Installing dependencies inside it
`bash

(venv) $ pip install selenium

(venv) $ pip install pytest

`
Freezing dependencies
`bash

(venv) $ pip freeze > requirements.txt

`
Resulting requirements file
`properties

selenium==4.21.0

pytest==8.2.0

`
Reproducing the environment elsewhere
`bash

python -m venv venv

source venv/bin/activate

pip install -r requirements.txt

`
Deactivating
`bash

(venv) $ deactivate

`
0 Comments
Log in to join the conversation.No comments yet. Be the first to share your thoughts.